Email Edit View
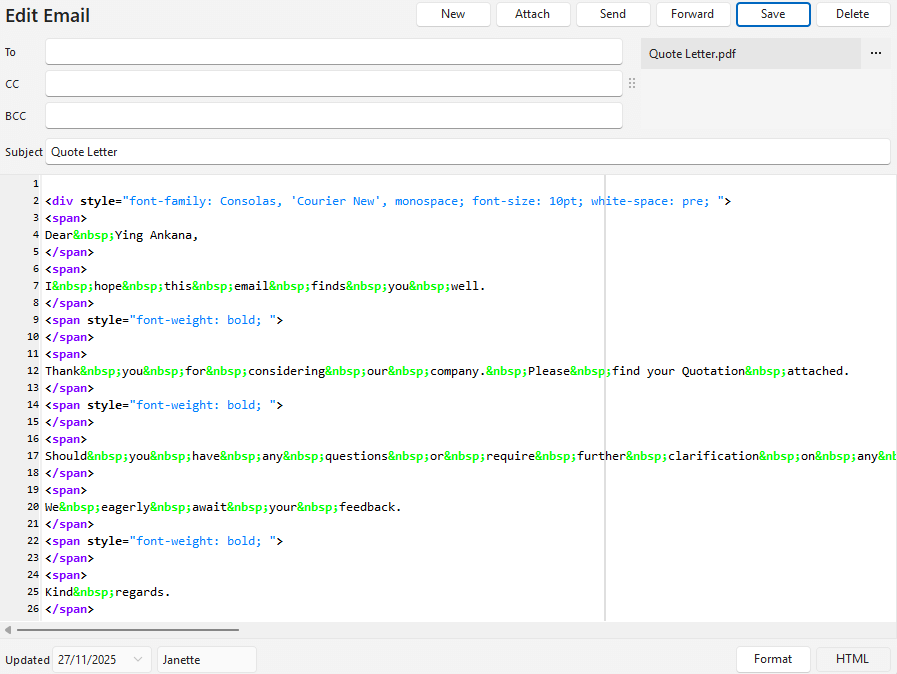
The Email edit view is where an email is created, edited and sent, including the emails that Output (button) places in the Outbox. Their subject line and body can be filled in from Email Templates, which can be customised to include personalisation and other features. This page describes the buttons and fields of the edit view and how to edit an email in HTML. For an overview of emails in QuickEasy BOS, see Email List View.
When you close an email (as opposed to sending it), you are prompted to Save the email to the Outbox, or to Delete it.
A sent email is shown read-only, without the toolbar.
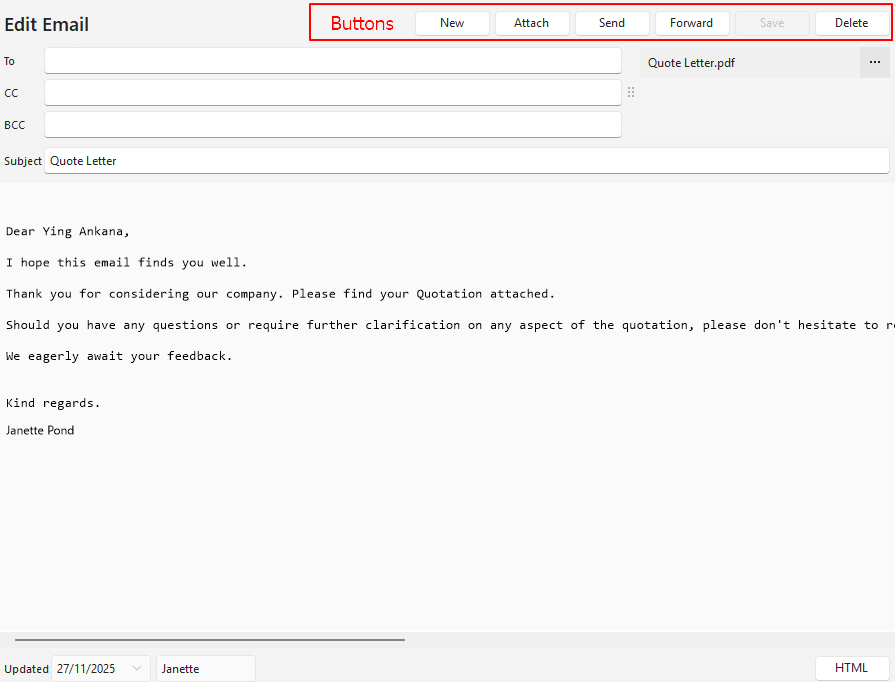
Buttons Explained
| Button | Description |
|---|---|
| New | Creates an email. |
| Attach | Adds an attachment. The options are:
|
| Send | Sends the email. Emails are sent using HTTP and AWS SES – One Region. Once an email with an attachment is sent, the attachment is no longer available. The email needs at least one address in To, CC or BCC. Otherwise, the message “Please specify at least one recipient.” appears and the email is not sent. |
| Forward | Creates a copy of the email in the Outbox and opens it for you to add the recipients and send it.
Your From Name and From Address user settings must be filled in. Otherwise, an error message appears. |
| Save | Saves any changes. |
| Delete | Deletes the email. |
Fields Explained
| Field | Description |
|---|---|
| To | Select an email address from the dropdown list. The field is prefilled with the contact person’s email address if a transaction is emailed. The main recipient of the email. |
| CC | Select an email address from the dropdown list. The person the email is copied to. |
| BCC | Select an email address from the dropdown list. The person the email is secretly copied to (without exposing their email address). |
| Attachment section | Lists the attachments. This section appears only if the email contains attachments. Click the three dots (…) to Open Attachment or Delete Attachment. Once sent, attachments are no longer available. |
| Subject | A short description of what the email is about. If the subject is empty, the banner Warning: Subject is blank appears at the top of the email when it is opened or saved. The banner is only a warning: you can still send the email. |
| Email Body | Enter the email in the HTML editor (see HTML Explained). Pictures from the web are downloaded when the email opens. A picture that cannot be reached can delay opening by up to about three seconds. |
HTML Explained
- The email body is edited in a word-processor style HTML editor with two tabs, Editor and Code. The editor opens on the Editor tab.
- The toolbar has the font, size, bold, italic, underline, strikeout, text colour, alignment, lists, indent, hyperlink, and undo and redo.
- When the editor opens, the toolbar shows the font of the General Settings General > Default - Font name for HTML (Calibri by default) and General > Default - Font size for HTML (9 by default).
- Opening the editor does not change the HTML. The HTML is saved only after an edit on the Editor tab, which saves the whole body again as inline-styled HTML. Merge fields (for example, [trans_no]), the attachment links (shown as [[Links Start]] / [[Links End]]), the <head> and <style> and each picture’s address are kept exactly.
- The editor has no table tools. Tables already in the HTML are kept, and their text can be edited; change the table layout on the Code tab.
- Before Ver 2.6.0, an HTML button opened the HTML editor, and clicking HTML again returned to the text view.
| Button | Description |
|---|---|
| Editor (tab) | Enter and format the email, using the toolbar. A sent email is read-only, without the toolbar. |
| Code (tab) | Shows the email’s HTML, which you can edit directly. |
| Format | Formats the HTML to make it easier to read. A dropdown list with these options:
|