
Saving and Restoring Layouts
A grid view shows data in a table, with columns (fields) and rows (records).
The columns are the fields or attributes of the data, and the rows are the individual records.
To show records in the grid, set a data filter and click View (button) on the button bar at the top of the panel.
💡These tutorials explain how to copy, save and restore grid layouts for yourself or all users.
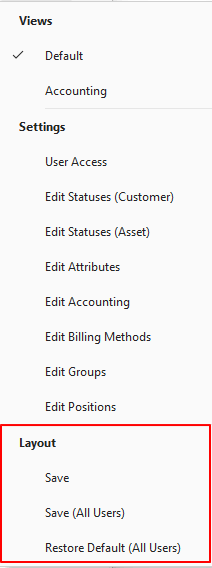
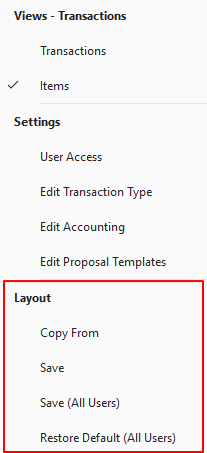
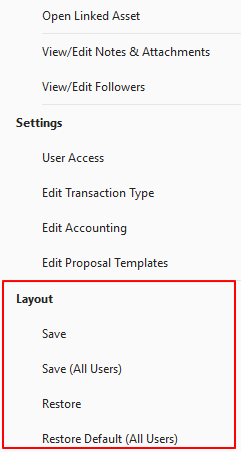
Most grid views include a Layout option on the Menu button:
Customer Records
Transaction List Views
Transaction Edit Views
How to Copy the Layout
Info
This feature lets you copy a saved layout from another user. It is only available in transaction list views.
- Display a list of entries (e.g. transactions).
- Click Menu (button) > Copy From.
- Click the user whose layout you want to use.
- Click Select (button).
- Confirm the copy on the popup.
How to Save the Grid Layout for Yourself
- Display a list of entries (e.g. transactions).
- Change the display as needed.
- Click Menu (button) > Save.
How to Save the Grid Layout for All Users
- Display a list of entries (e.g. transactions).
- Change the display as needed, including selecting or hiding columns.
- Click Menu (button) > Save (All Users).
How to Restore the Grid Layout
- Display a list of entries (e.g. transactions).
- Click Menu (button) > Restore Default (All Users).
- Note: A restart is required. BOS shows the message “The default grid will be restored after you restart BOS. Restart now?” If you click Cancel (button), the default grid appears the next time BOS starts. For transactions, you can also use Restore to return to the layout you saved for yourself, after you change the display. Saved layouts are kept after QuickEasy BOS restarts.